
Pierre (Pete) Routhier
During the past decade, the need for test footage has increased exponentially. High frame rate, increased spatial resolution, high dynamic range and wide colour gamut, to name a few, require a significant amount of conversion to bring different sources to the same mastering format.
For example, it is not unusual for a major documentary project to integrate footage captured at 23.976, 24, 25, 29.97, 50 and 59.94 fps. This, naturally, means that temporal interpolation and/or extrapolation is required to harmonize the final product. In other words, frames need to be created, removed or modified in the image sequence to meet the number of images per second that the project dictates.
Two solutions
When assessing the effectiveness of frame rate conversion software and hardware, for example, it is preferable to provide expert viewers with identical motion and framing in side-by-side sequences, in order to prevent bias due to differing shooting conditions. This can be achieved in two different ways.
When comparing only two different settings (e.g. normal and high frame rates), we have used side-by-side stereo rigs with camera synchronization (Figure 1); there is a slight difference in parallax (3D views are slightly different between left and right), but as long as the subject is further than 3-5 metres from the cameras, the shots will look identical to the viewer.
This method is ideal for capturing high-motion shots with a significant amount of camera movement, and has demonstrated, for example, that high frame rate HD (1920x1080) for sports yields a superior image to UHD (3840x2160) at conventional frame rates1.
In the case of our documentary example, we need a lot more options than two, however. As it is not practical to rig half a dozen cameras together, the method we use to create identical sequences is to generate repeatable motion and lighting in front of the camera while keeping the camera itself still (Figure 2).
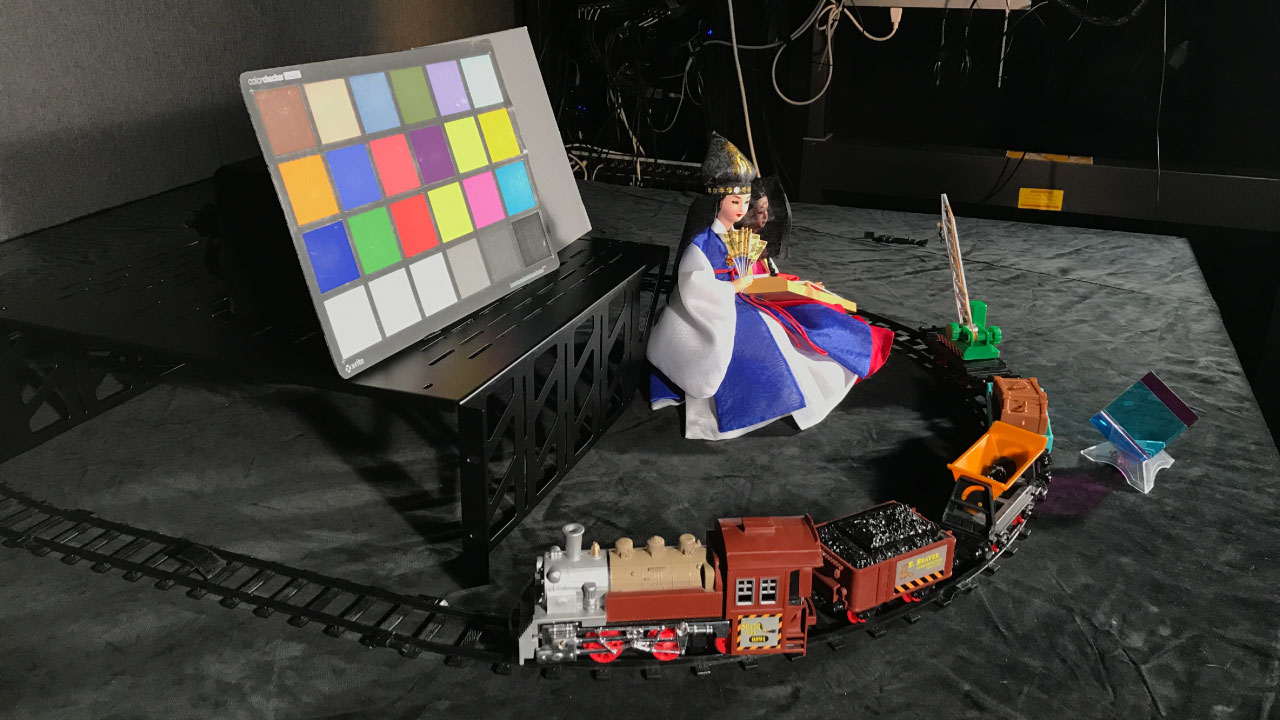
Figure 2. Single-camera setup with repeatable motion
Filters needed
The main challenge in both versions (two-camera one shot and single-camera multiple shots) is that different frame rates have different integration time (i.e. shutter speeds), meaning that there is not an even amount of photons (light particles) reaching the sensor. Adjusting camera gain or changing the iris on the lens would give us a compromised signal or a different depth of field (blur in the background), which is not ideal; so instead, we set lighting and lens settings to be properly exposed for the most demanding conditions (the fastest shutter speed), keep them locked and compensate for the increased light in slower shutter speeds with neutral density (ND) filters, which reduce the amount of light incoming without changing the colour of the shot.
Ideally, the use of a variable ND filter is recommended, as it allows for an exact light match using a waveform monitor. Unfortunately, those are not always available, so when a set of fixed-value ND filters is used, there will be a need to
slightly adjust exposure in post- production in order to match light levels.
In a future article, we will discuss the use of such a multiple frame rate test sequence in a practical application with a major broadcaster.
1 See SMPTE Motion Imaging Journal, May/June 2015
This article was first published in issue 55 of tech-i magazine.
EBU members interested in procuring comparative test images can reach the author at pierre.routhier@ digitaltroublemaker.com.